PORSCHE 911 BACKDATE “PAULI”
A few pictures and information about my first Porsche 911 Backdate Project. I named the car “Pauli” for some reason but I can’t really remember why. Suggestions are welcome. If you have questions or need help or looking for advice, just contact me.
As Amazon Associate I earn from qualifying purchases. I may receive a small commission at no additional cost to you for purchases made through links in this post.
1983 PORSCHE 911 SC
The car is a 1983 Porsche 911 SC, 3 litre engine matching numbers car. First delivered to a dealership in San Diego, CA where it stayed until 2006 when the 3rd owner moved to Miami, FL. Bought the car off craigslist in 2012 and had it shipped to Germany where I lived at the time.
The whole idea after a number of all-original Porsche 911s from different generations was to build a car according to my ideas. So I was specifically looking for a 911 SC to start with. That red is not the original paint, the original colour was Rauchquartzmetallic, a brown-ish metallic colour. Interior was still original – red – must have been great in the 80s with the exterior colour.
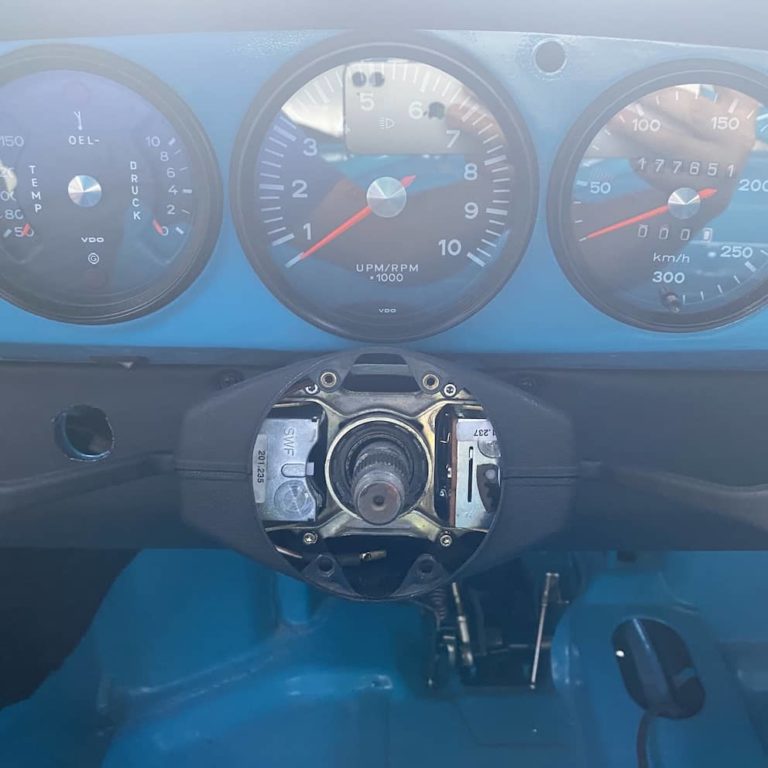
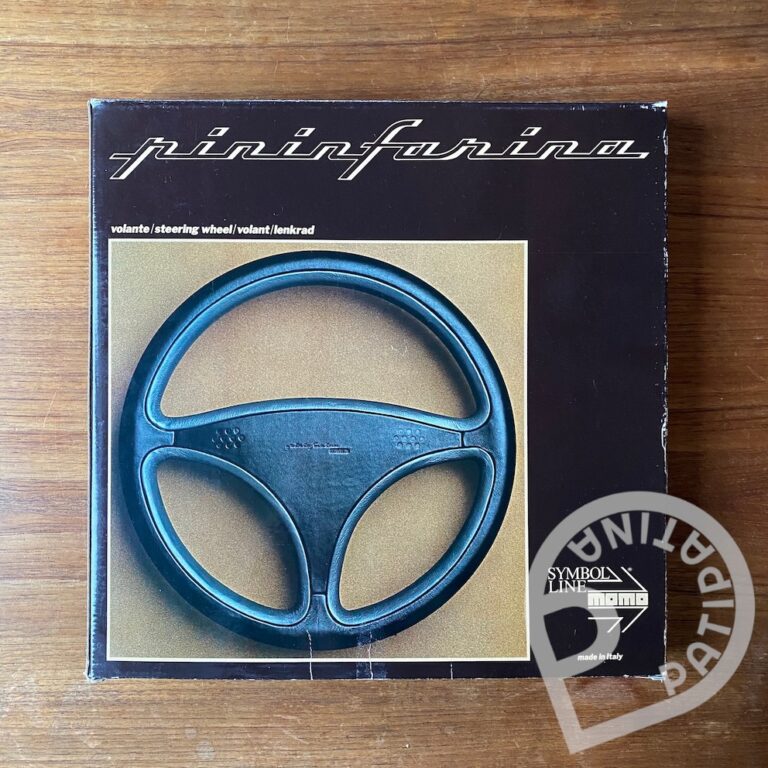
The car had about 225.000 miles at the time of purchase, engine pulled strong, however, the transmission had some synchro ring issues and needed some maintenance. Back in 2012 that car was a bargain. Only thing I did when I got it was to remove the A/C and install a Momo Jackie Stewart Steering Wheel.


DISASSEMBLY
Then, one day I just started without much preparation. Of course I’ve read a lot of backdate threads on pelican parts and I really, really wanted to do it by myself. So the disassembly started when I had a few days off and nothing else to do.
Started with the front gradually worked my way backwards. That was the first time I’ve done something like that and a number of projects should follow. Oh and btw I don’t have any kind of mechanical background. But it worked quite well. Headlights out, hood, front bumper, front fenders.
Interior next. That was quite easy, started with the doors, door panels first, then mirrors, window frames, windows, seats, carpets, that was done in a day incl. the rear bumper and the deck lid. That was all still easy though time consuming. Next day I’ve started another adventure: First time I’ve removed a Porsche engine all by myself. Took me 5 hours to get the engine out. Nowadays 30-45 minutes. You learn along the way, I can tell you.


FITTING THE FIBERGLASS
Somehow I had the idea of building some sort of light-weight-hot-rod-backdate and I wanted to go for fiberglass even though to that day, I had no experience with fiberglass whatsoever.
I was actually quite surprised to see how great the fitment of the fenders, hood and bumpers were. From what I’ve read I was prepared to do a lot of adjustments but I’ve had to do only a little grinding here and there to make them fit perfectly. Don’t remember the brand in case you were wondering.
The rear-bumper was one piece, RS style bumper but I didn’t really like the look. I wanted the car to look a bit more shiny and classy. So I bought a new middle section with chrome bumpers, made some brackets and installed them. After that I’ve cutted the fiberglass bumper into 3 pieces and adjusted them so they fitted perfectly as well. Had to glass in brackets, just like with the front bumper. Quite some experience to find the right mixture.


MEANWHILE
Everything matters. I’ve seen that on the wall when I visited a buddy of mine years ago at the Singer Facility. Kinda liked that and I dedicated some time to some other little details.
I wanted a center-hood filler, so I had to prep the gas tank. Had to remove all the rubber-like protection layer, TotalBoat Paint Remover worked just fine and I got everything off easily. I also wanted an exposed shifter housing and everyone who has seen it without the rubber cover knows how bad it looks underneath. I used my little Compact drill together with a Powerball and this 3M Aluminium Restorer & Polisher but I guess Never Dull will also do the job. Polished the not so shiny gas filler cap as well, turned out pretty well.
Then I had all the engine covers sand blasted and black powder coated, looked like new again. And I’ve found two 8×16 NOS Fuchs wheels so I only had to restore a set of two 7×16 for the front. Bought Continental tires at the time, a suggestion from Porsche.


PAINT REMOVAL & PRIMER
Before the car went to the paint shop, I really wanted to see what’s underneath, all the dirt of 30 years. A friend of mine suggested to dry ice blast the car, inside and underneath. I was honestly pretty much relieved to see that the car was in a very good shape, only little surface rust here and there, nothing serious.
After that, the car went to a paint preparation shop (which is working together with the paint shop of my choice). They’ve removed all the paint, literally several layers of paint. Turned out the car had a little rear end collision as you can see on the pictures. So the rear fender and the decklid needed some work, but nothing structural.


PAINT SHOP
Finally the car went to the paint shop. Did I mention that I am impatient? At least I’ve had enough time to pick a colour. Not such an easy task. I didn’t want to go original but somehow an older but original Porsche colour. But I didn’t find anything I liked in the early Porsche Colour Palette. So I went even further back and found something which I hoped would look cool, old-school but very classy at the same time.
The colour I picked was a 1958 Porsche 356 silver which was available for one year only. I was super excited when I saw the car for the first time at the paint shop. And I still love it even though I wouldn’t do it again. But that’s another story. How did you guys pick colours if you were not going original? Let me know.


ASSEMBLY
I didn’t have a lift at the time of that project so I the first thing was to install the engine at a friends shop. Pretty easy even though some time had passed between taking the engine out and now getting it back in. When I had the engine out, I’ve taken it to a shop where they did some checks, adjusted the valves, replaced the chains and all the seals. No need for a rebuilt. I’ve also changed all the hoses and the injectors. The gearbox needed a rebuilt which was done by a friend. Got back a neat and tight 915 transmission.
But than I had a problem I couldn’t fix. I bought a used stainless steel muffler that has been designed to fit a G-model 911. Not necessarily a backdate or pre-74 911. So the exhaust pipe was too long, too low and didn’t fit the profile of the left rear bumper. So I had a guy adjust that, you see the result later on. As I said, I wanted a clean look so I had all the holes on the decklid closed and used a nice and polished earlier grille to complete the look.


HEADLINER & NOISE INSULATION
Well, Interior. Again, something I’ve never done before. Until that time I was a Porsche 911 lover and driver. And there I was, figuring out all by myself how to do that. Again, threads at pelican parts were really helpful. Bought a new headliner and four packages of these binder clips. A lot of stretching here, pulling there, repositioning. I used Elmers Cement Glue to glue the headliner into place, no wrinkles, just perfect (the picture was taken before the final glueing step).
When I took the car apart, I’ve removed the old insulation which wasn’t in such a great shape. Several wets and dries have given the insulation and the carpet the rest. I didn’t want to install rear seats and use something else for insulation. Again, asked around and bought this automotive sound deadener which is some sort of aluminium automotive butyl material. Super easy to use and adjust. On top of that, I’ve put two layers of foam with a different density (thickness 3 & 5mm), used spray adhesive to keep that in place. Bought a new lightweight RS carpet kit and glued that one in with 3M Super 77 spray adhesive. Did the job very well.


CARPET, REAR QUARTERS & DOOR CARDS
My very special roll bar installation was next. I know, carpet, rear quarter panels and then the roll bar might not be the usual sequence. But since I’ve installed the roll bar mainly for look reasons, I thought I could do it like that. So I’ve installed the rear quarters after reupholstering them with leather using 3M Super 77 (not perfect but ok) and then drilled the holes to install the roll bar. I still love the way it looks.
The heater has been removed, didn’t want a radio and there was no need for a glove box as well. All I wanted was a superclean look on the interior. Mission accomplished I’d say. Used silver leather and glued it onto a cutted board, the same material that I used for the door cards as well. Cutted these by myself as well, used a 3mm PVC sheet which is way easier to cut and drill and there will be no problems in case it’s getting wet.


WINDOWS & DOOR HANDLES
First, the front and rear windows went back in. Oh and I really really wanted pop-out windows in the back. Unfortunately, Porsche stopped putting them in in 1977, from the SC generation onwards the cars had fixed windows in the rear. Got a pair from pelican parts, again polished them with 3M Aluminium Polisher and installed new seals. For the opening mechanism you need to install threaded rivet nuts on the c-pilar, the holes are still there. Make sure you have the riveting tool for that. On the c-pilar you have to remove a little piece of metal in order to have space for the pop-outs.
Oh and yes I have drilled my doorhandles, not because of the weight but the look. Had them re-chromed, really liked the way it turned out – it matched the holes in the center hood filler cap – and in general – silver with the polished/chrome exterior. And check out the exhaust, goes out to the left side which is cool and a little down. Still love the understatement look.


A FEW MORE THINGS…
Well, the last small little things always take the longest. Everyone will say that I guess. Installing the headlights was easy, the turn signals were a bit more difficult, the fitment after the paint job has slightly changed so I had to adjust the already prepared brackets for the turn signals.
The ride height needed to be adjusted due to new Bilstein dampers all around and a much lower total weight of the car. The car los about 200kg in total, quite an amount if you ask me. By the way thats WD-40 in the picture 😉
Then the car went to a friends shop. New hoses and injectors changed the behaviour of the engine radically, so it was necessary to dial the engine in again. After that, I enjoyed the car to the fullest until I eventually sold it to make way for a new project. Another backdate, this time full metal, narrow body, not on a budget this time. Stay tuned!