vinyl covered dashboard
For those of you wondering, yes, I am still working on my little car project which turned into a huge project. Last time I fitted the dashboard and the lower switch panel, all I did after that was to have it covered in vinyl. No, didn’t do that myself, I wanted it to be perfect. And yes, it turned out perfect with some little specials. Check them out!
As Amazon Associate I earn from qualifying purchases. I may receive a small commission at no additional cost to you for purchases made through links in this post.
Sometimes I just sit there, next to the car wondering why those projects take so long. And then, a day later I realize that I started that little project in late 2016. Taking it apart was easy, that took no longer than a week. But then I had to find someone to chemical paint strip the car, weld the new parts in, test fit everything, paint it and so on and on. Yeah well, a 5 year project, but I see the light at the end of the tunnel. At least to have it running. I will spend some more time customizing it and make it even more special. So I took the dashboard to a guy who seemed to be very good at upholstering parts.
And he did a great job! Super happy with the result, especially with the vent openings in the dash. That is a super neat solution – love it.
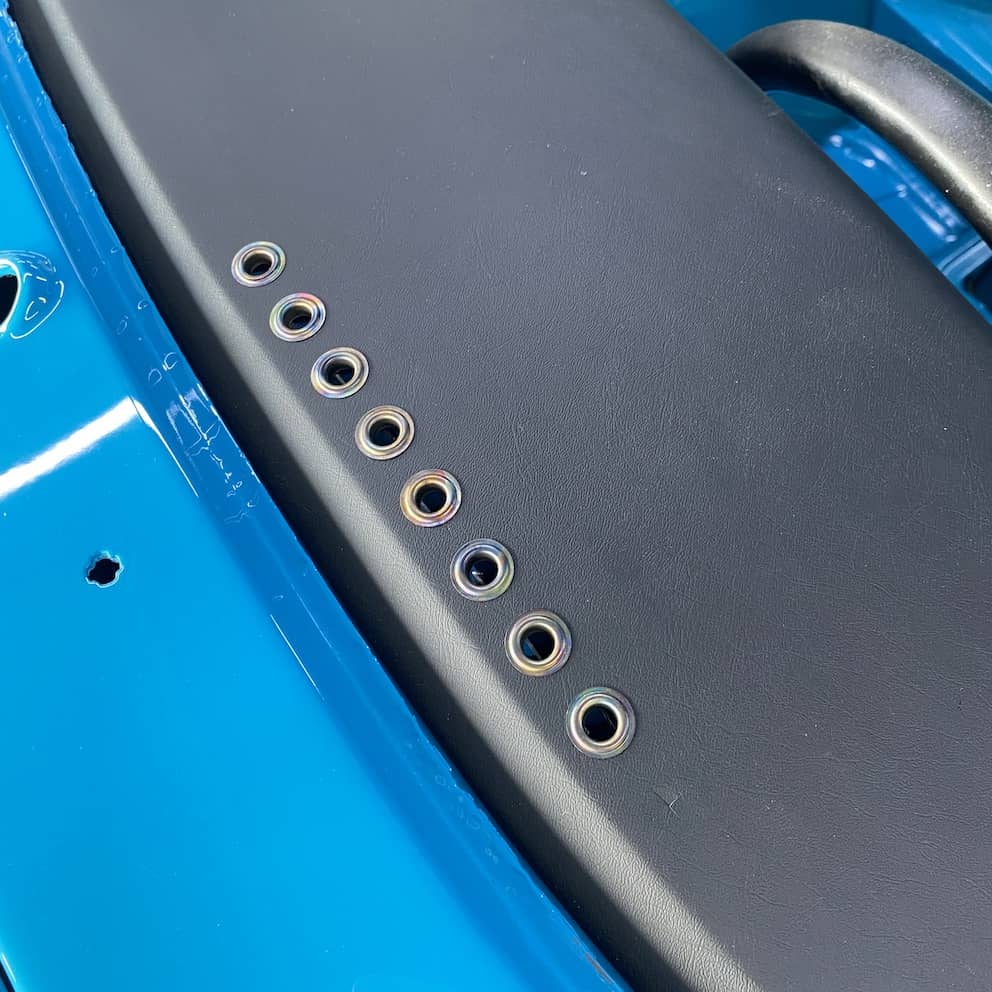
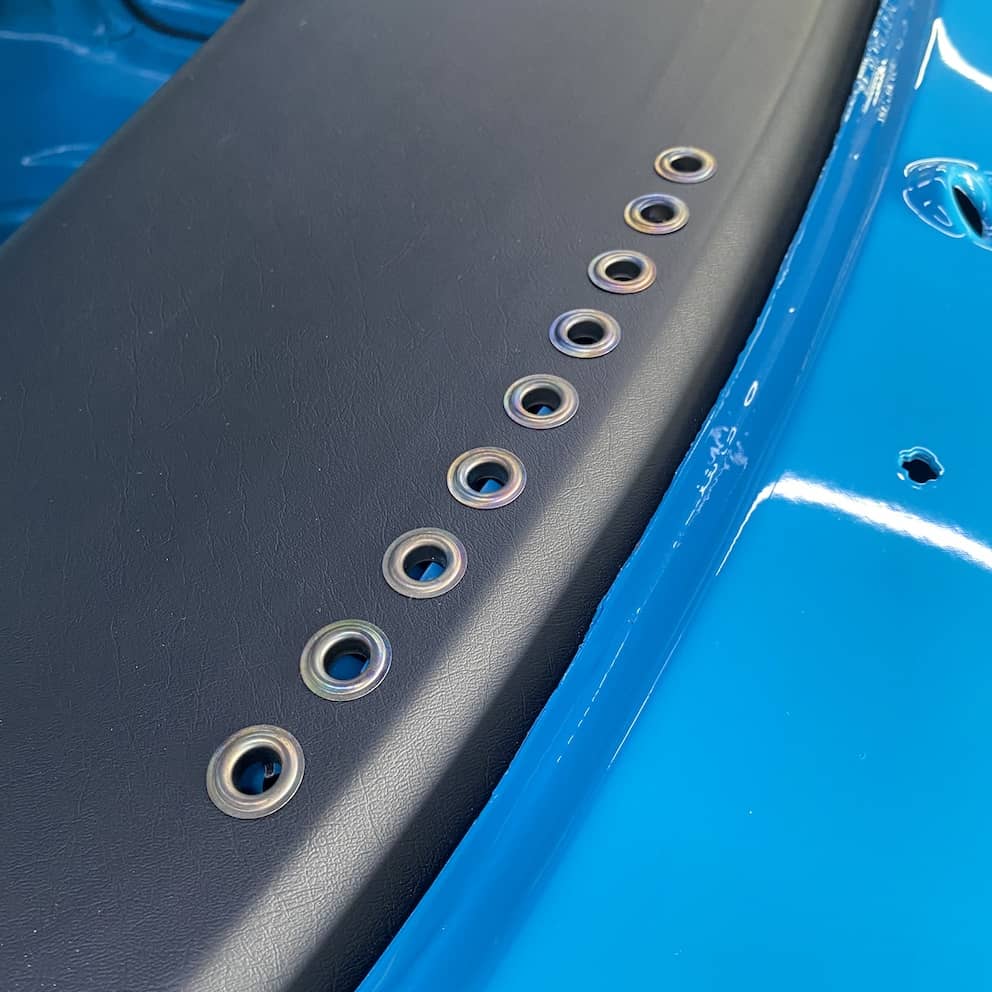
Those metai rings will be used later for reupholstering the seats. But since I don’t know whether I will use the seats I bought or not, I will try them first and see if I am happy with them and have them reupholstered to my own taste later.
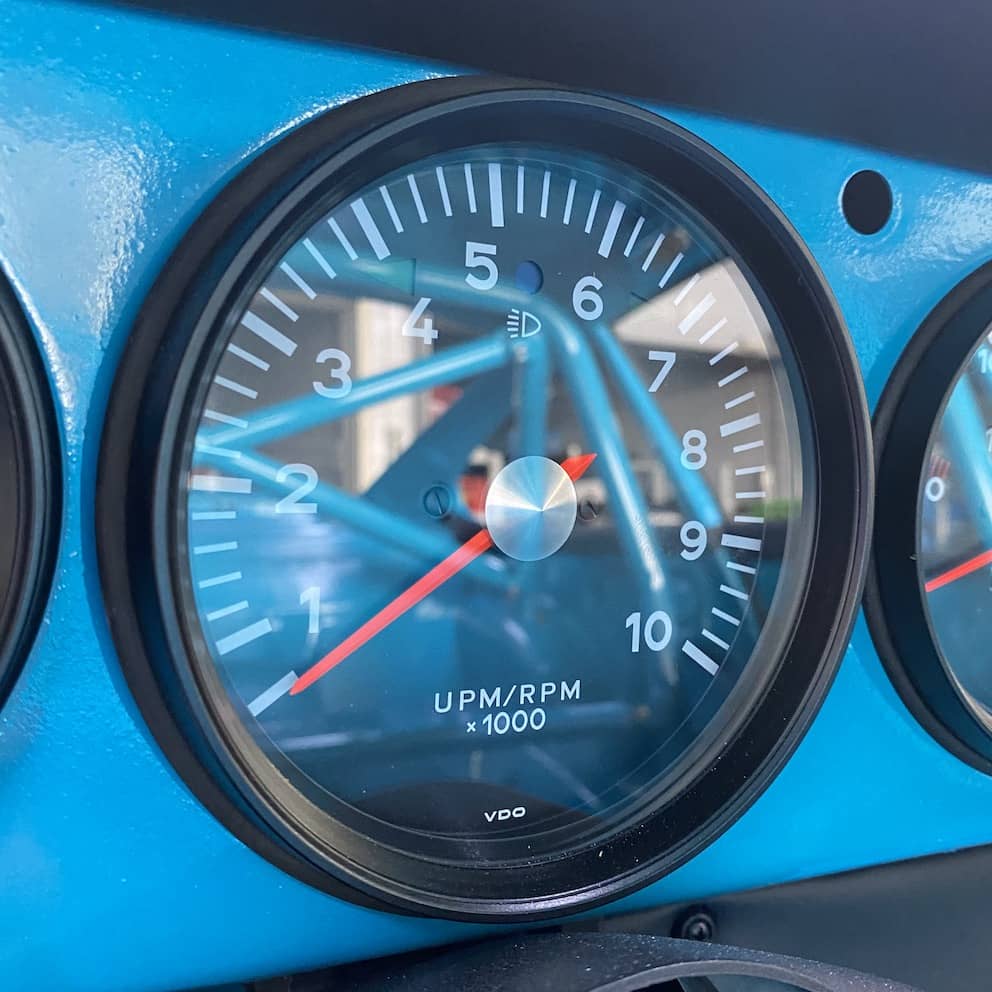
The gauges are not the one that will go into the car. Just borrowed these to see how it can look like. Not sure whether I should use black or polished bezels. Let me know what you think. I will definitely have the miami-blue colour exposed around the gauges. Love the see the colour not only on the outside but on the inside too!

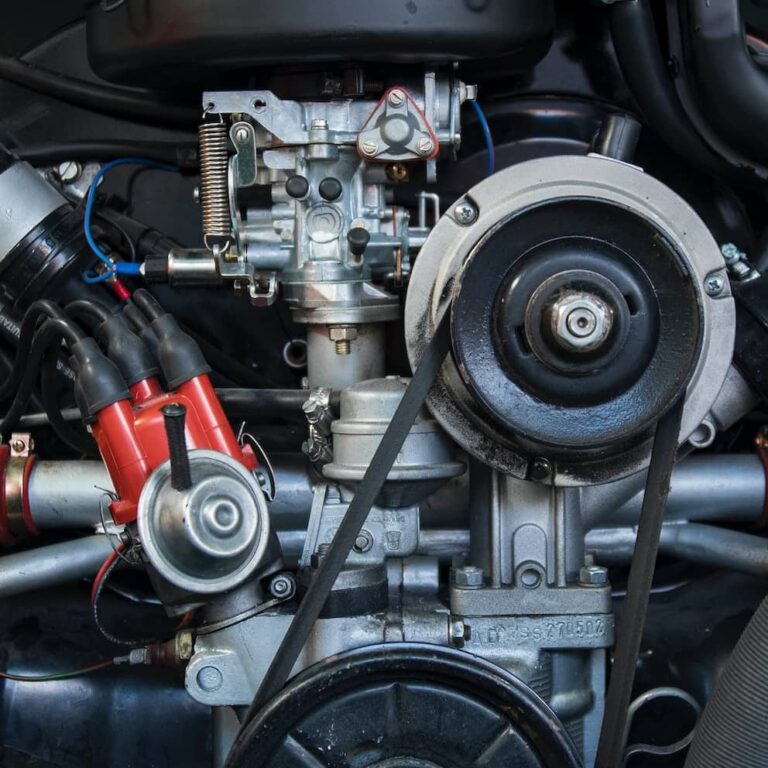
Yeah well, thats pretty much all. Not entirely true. Those who followed the built will remember that I wasn’t sure about the engine. Meanwhile I had a friend building me an engine. Based on a 911 Carrera 3.o case, JE pistons, S-cams and PMO 46 carbs. Engine is ready and will go in shortly. Meanwhile I have to put in the oil tank, brand new oil lines and other bits and pieces. Will give an update soon!
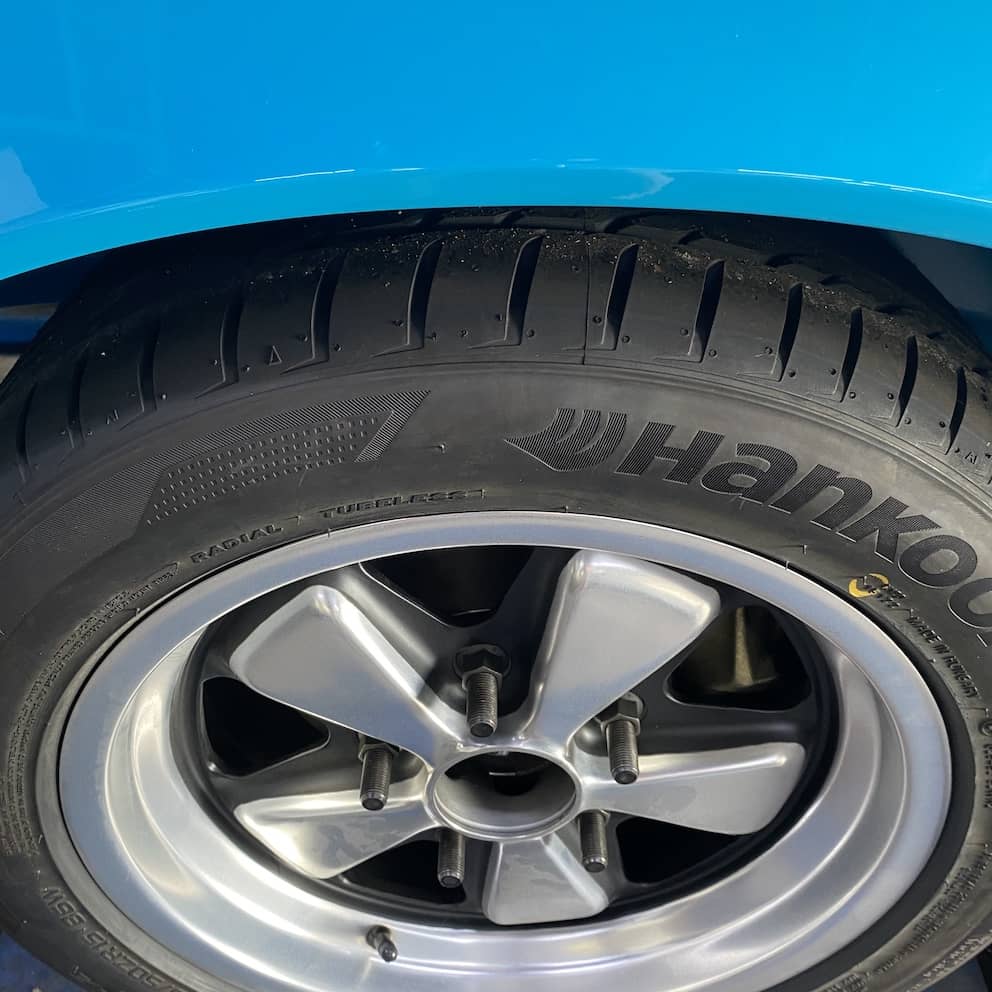

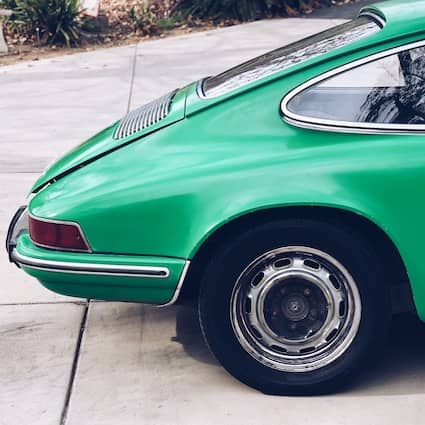
And, I was talking about tire sizes before and read a lot about tires, this special kind of torsion bar suspension and decided to use other tires even though I bought brand new 205/50/15 all around for the 7 inch Fuchs wheels. Since the tire is an important part of Porsches original suspension setup, I ordered 195/65/15 Dunlop tires. They are going to look way better in the wheelhousing and will work together with the suspension components even better. On the pictures below are still the 205/50/15, which was on optional setup of the Carrera 3.o, and tires I love on my silver Carrera 3.o, but for this built here, I changed directions. What I do love are the longer studs. Looks racy and sporty and yeah – mature and masculine.
