How to Detail Your Car – A Step-by-Step Guide
Mads van Appeldoorn
April 4, 2020
As Amazon Associate I earn from qualifying purchases. I may receive a small commission at no additional cost to you for purchases made through links in this post.
Car detailing – The ultimate guide to making your car look new again
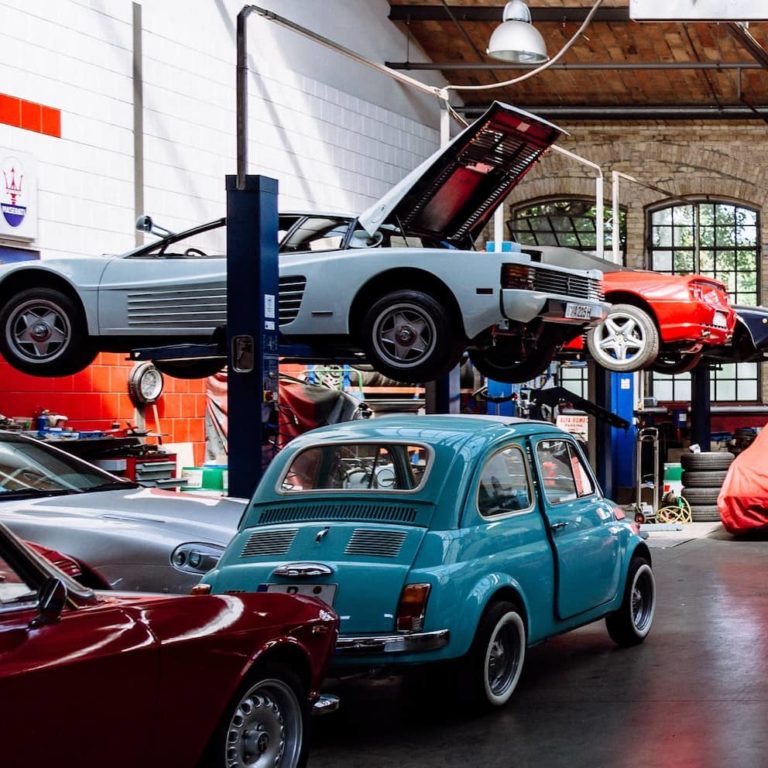
Detailing a classic car is not only an important aspect of maintaining its original beauty and value, but it also serves as a way of preserving history. These cars are often considered works of art and are admired for their unique designs, attention to detail, and historical significance. Detailing a classic car is, therefore, a great way to showcase its beauty and preserve its history for future generations.
Detailing a classic car involves more than just washing and waxing. It is a meticulous process that requires a lot of time and attention to detail. The first step in detailing a classic car is to thoroughly wash it. This includes cleaning the exterior, wheels, and tires, as well as the interior. Once the car is clean, it is time to inspect it for any imperfections, such as scratches, dents, or rust spots. But let’s dive into the nitty-gritty of how to do it yourself. Here’s a step-by-step guide to detailing your car.
Exterior Detailing
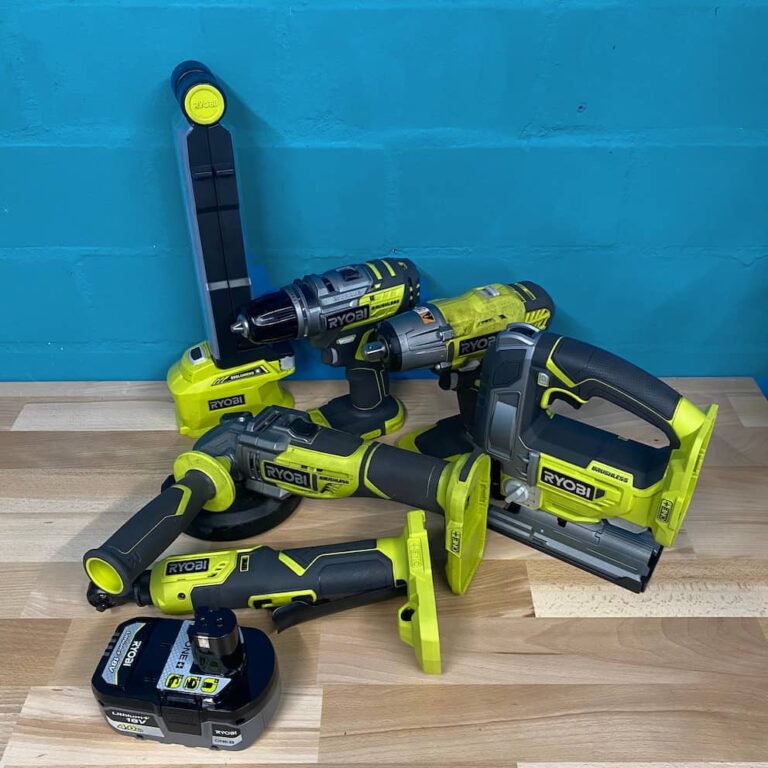
Before you get started, you’ll need to gather all the supplies you’ll need. Here’s a list of my favourite exterior detailing products:
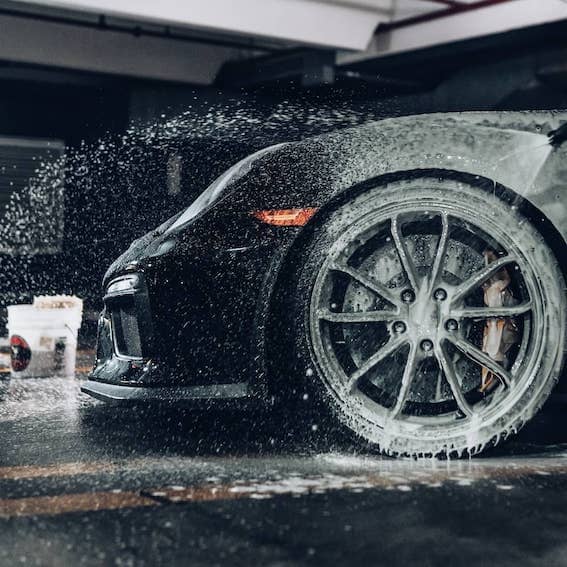
Step 1: Wash the car
The first step in exterior car detailing is to wash the car. This is were the fun comes in. Use a high-quality car wash soap and a bucket of water or a Pressure Washer like mine to remove dirt, grime, and road salt. Be sure to rinse the car thoroughly before washing to remove any loose debris. Use a microfiber towel or wash mitt to gently scrub the surface, being careful not to scratch the paint. Rinse the car thoroughly and dry it using a microfiber towel or chamois.
Step 2: Clay bar
Once the car is dry, use a clay bar to remove any contaminants that were not removed during washing. A clay bar will remove any bonded contaminants, such as tree sap, tar, and industrial fallout. Spray the surface with a clay lubricant and gently rub the clay bar over the surface, working in small sections. Be sure to knead the clay bar often to expose a clean surface.
Step 3: Polishing
After the clay bar treatment, it’s time to polish the car. A polishing compound will remove any swirl marks, scratches, or oxidation and restore the shine to the paint. Apply the polishing compound using a dual-action polisher or a hand applicator pad. Work in small sections and use a microfiber towel to remove any excess compound. Don’t apply to much pressure.
Step 4: Waxing
Once the polishing is complete, it’s time to wax the car. Waxing helps protect the paint from the elements and gives it a glossy shine. Apply the wax using a foam applicator pad or a dual-action polisher. Work in small sections and use a microfiber towel to remove any excess wax. Be sure to read the manufacturer’s instructions before using any wax products.
Step 5: Clean the wheels
While the wax is drying, clean the wheels using a wheel cleaner and a wheel brush. Be sure to get into all the crevices and hard-to-reach areas. Rinse the wheels thoroughly and dry them using a microfiber towel. Repeat the process until you have a satisfying result.
Step 6: Protect the tires
Once the wheels are clean, protect the tires using a tire shine product. Apply the tire shine using a foam applicator pad and be sure to get an even coverage. Allow the product to dry before driving the car.
Continue with interior detailing.
Interior Detailing
And my favourite products for interior detailing. Some of these you might have purchased already for exterior detailing, some you might find at home.
Step 1: Remove all debris
The first step in interior car detailing is to remove all the debris, including trash, loose items, and floor mats. This helps you access all areas of the car and makes the process much easier. Use a handheld vacuum cleaner or a shop vac to clean the carpets, seats, and dashboard. Be sure to get into all the crevices and hard-to-reach areas.
Step 2: Clean the upholstery
Once you’ve removed all the debris, it’s time to clean the upholstery. Use an upholstery cleaner to remove stains and dirt from the seats, carpets, and floor mats. If you have leather seats, use a leather cleaner to remove dirt and grime. Apply the cleaner to a microfiber cloth and gently wipe the surface. Please read the manufacturer’s instructions before using any cleaning products.
Step 3: Clean the dashboard and console
The dashboard and console are often overlooked. Use a dashboard cleaner to clean the surfaces and remove any dust, dirt, or grime. You can also use a microfiber cloth and a mixture of water and vinegar for an all-natural solution. But please be careful not to use too much water, as this can damage the electronics.
Step 4: Clean the windows
Clean the windows like you do at home (hopefully, every now and then) using a glass cleaner and a microfiber cloth. Be sure to clean both the inside and outside of the windows. A glass cleaner will remove smudges or streaks and give a fresher look.
Step 5: Protect the surfaces
Once you have cleaned all the surfaces, it’s time to protect them. Use a protectant to keep the dashboard, seats, and other surfaces looking like new. A protectant will also help to prevent cracking and fading. Again, make sure to use a protectant that is designed for the specific surface you are treating.
Step 6: Add a fresh scent
Finally, add a fresh scent to your car using an air freshener or my (and hopefully your) little air freshener tree. This will give your car a pleasant fragrance and help eliminate any unpleasant odors.
And you’re done!
Happy detailing!
In conclusion, car detailing is an important part of maintaining your car’s appearance, value, and longevity. By following these simple steps and using the right products, you can keep your car looking like new. Remember to read the manufacturer’s instructions before using any cleaning products, polishing compounds, and wax products. Again, happy detailing!