Another Porsche 911 Project #4
by Mads – April 8, 2020
Chemical paint stripping
At some point, you reach a stage in a project where “almost there” is not good enough anymore.
So I decided to go one step further.
Not because it was necessary in a strict sense, but because I wanted to understand the car completely before moving into the next phase.
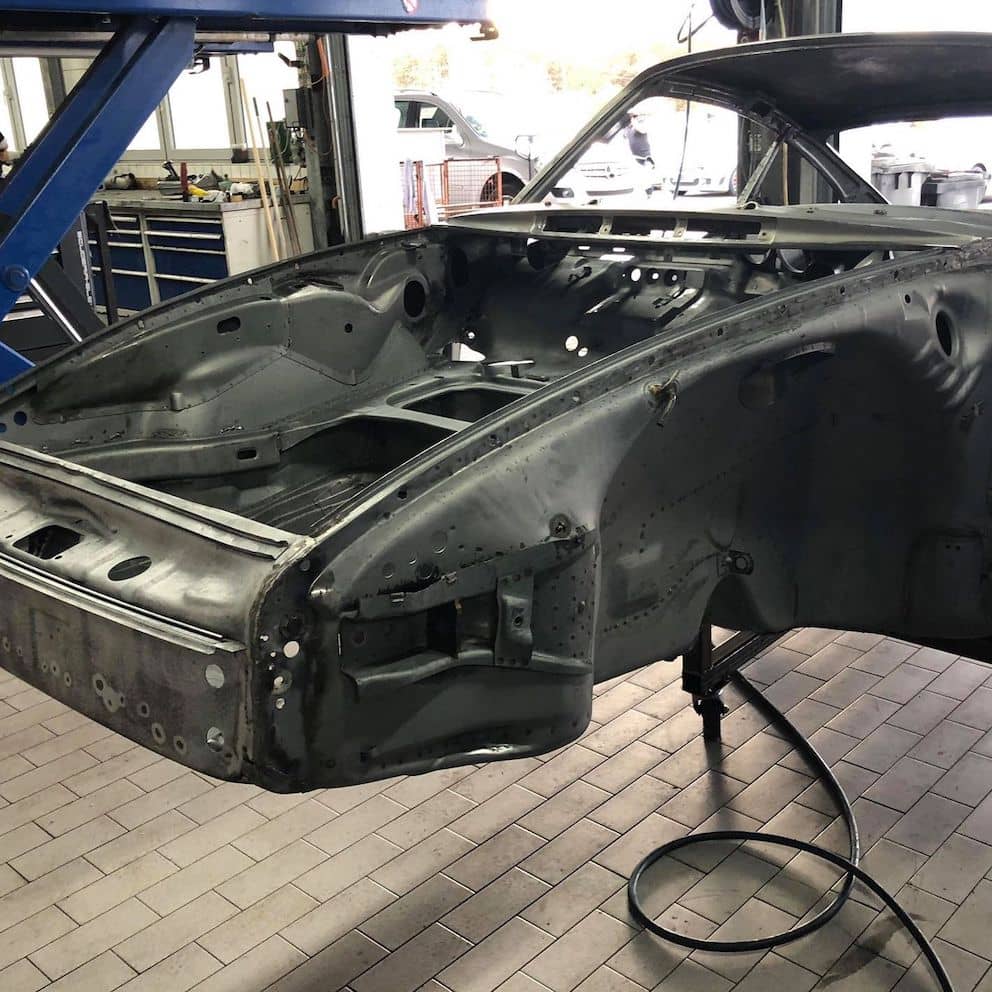
Stripping everything down to bare metal
After all removable parts had been taken off, the chassis itself went to a specialist facility for chemical paint stripping. Not the bolt-on panels, but the actual body shell.
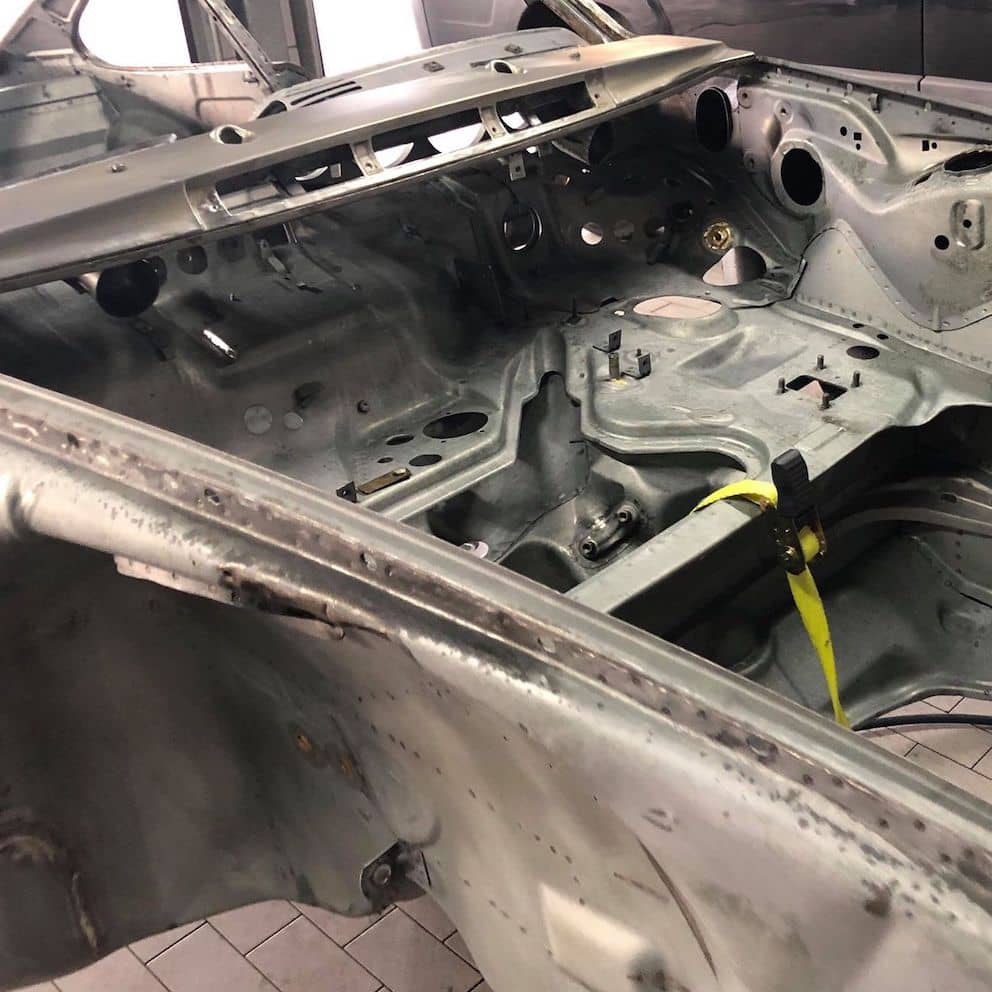
The goal was simple: remove everything. Paint layers, residues, hidden coatings. Everything that could hide what the metal underneath really looked like.
And the advantage of this method is that it reaches areas you would never properly access otherwise. Inside seams, cavities, and all the small sections that usually stay untouched.
When it came back, the surface was completely raw. And honest.
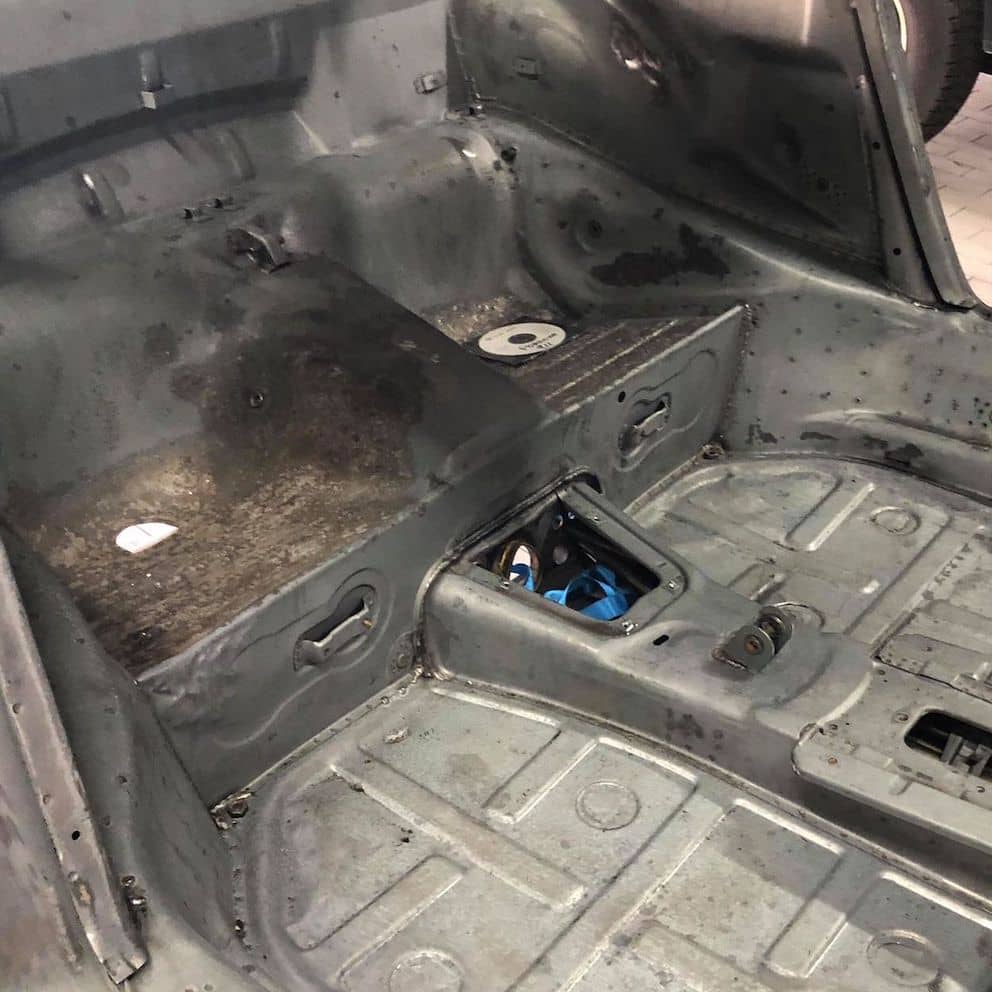
What we found underneath
Once the paint was gone, the real condition of the shell became visible. And as expected, there were a few areas that needed attention.
The rear seat section showed some weaknesses and required reinforcement. The window frame areas also needed correction and some minor structural adjustments.
Nothing unexpected. Nothing dramatic. But enough to justify the process.
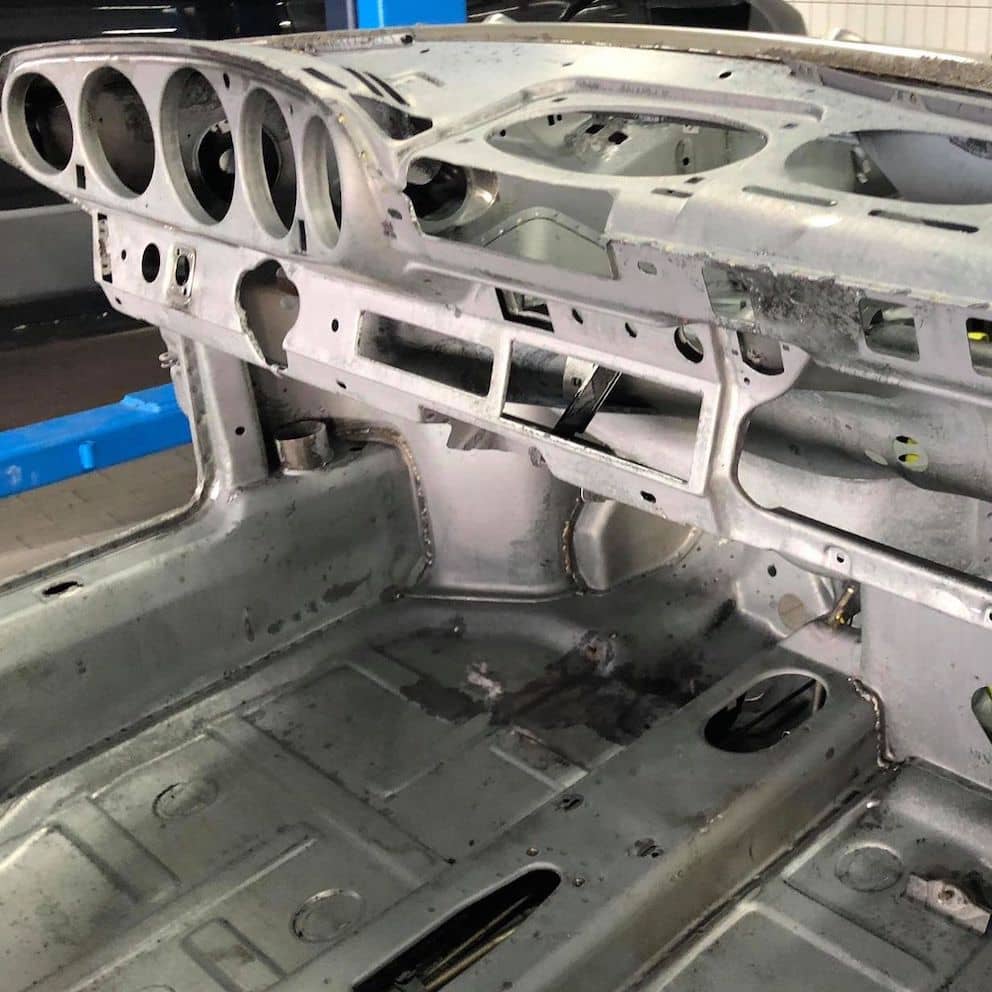
A surprisingly solid base
What stood out most, however, was what didn’t need work. The floor structure was in excellent condition. No corrosion issues, no structural concerns. Just a clean, solid base.
That alone changed the tone of the project again, because it meant we were not dealing with damage control, but with refinement. And that is a very different mindset.
Strengthening and preparation
After the weak points were addressed, the shell went through a reinforcement phase.
Small corrections, structural improvements, and preparation work to make sure everything would align properly once the new panels and components were installed.
Nothing visible at first glance, but essential for what comes next.
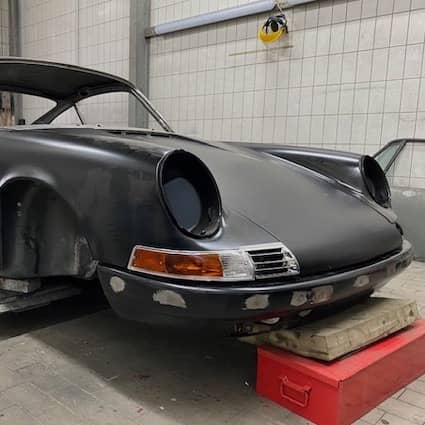
Dry fit and alignment
Before any paint work, everything was temporarily assembled again. All panels were fitted onto the bare shell: fenders, bumpers, hood, doors.
This phase is always a bit uncomfortable, because nothing is final yet, but everything starts to reveal its shape. Even though most panels had a good initial fit, adjustments were still necessary.
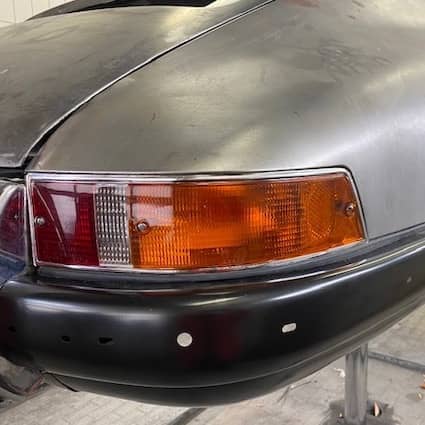
Headlights, indicators, grilles, and rear lights all required fine tuning to sit properly. This is the part where a project starts to feel like a car again. Even if it is still far from finished.
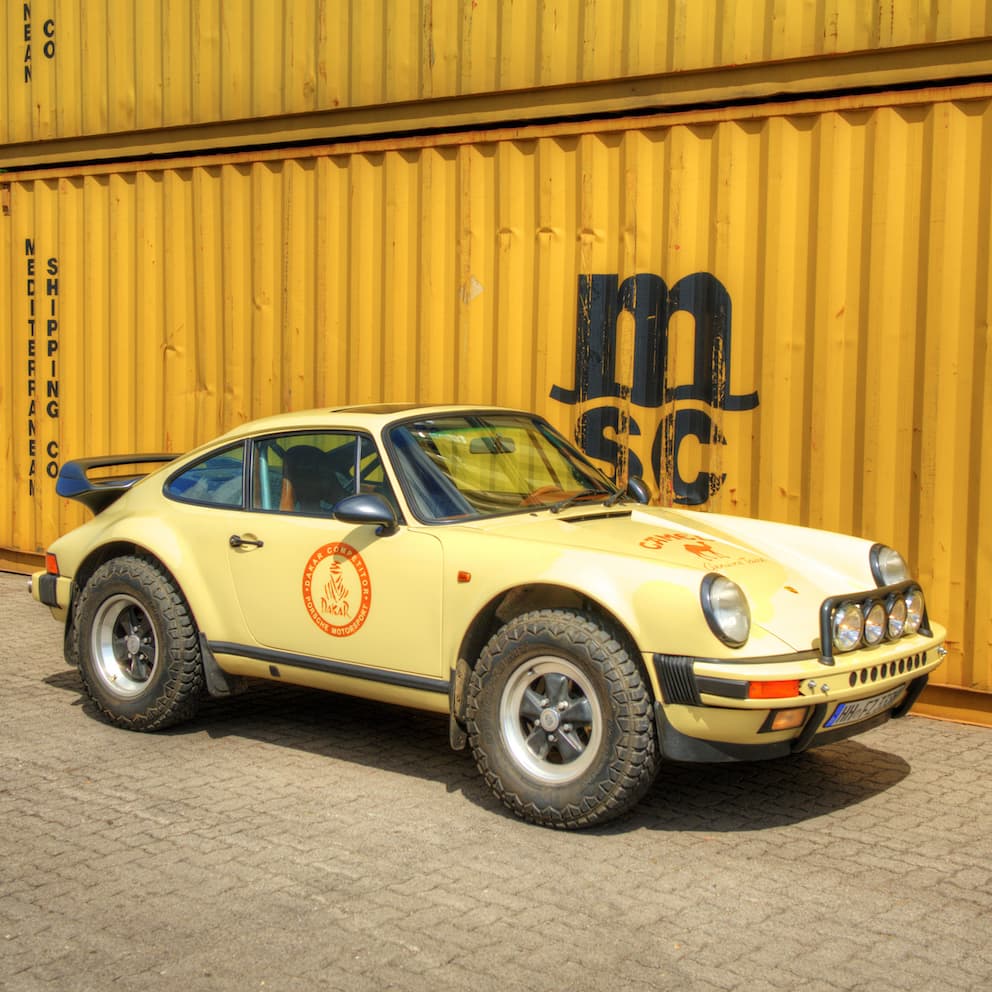
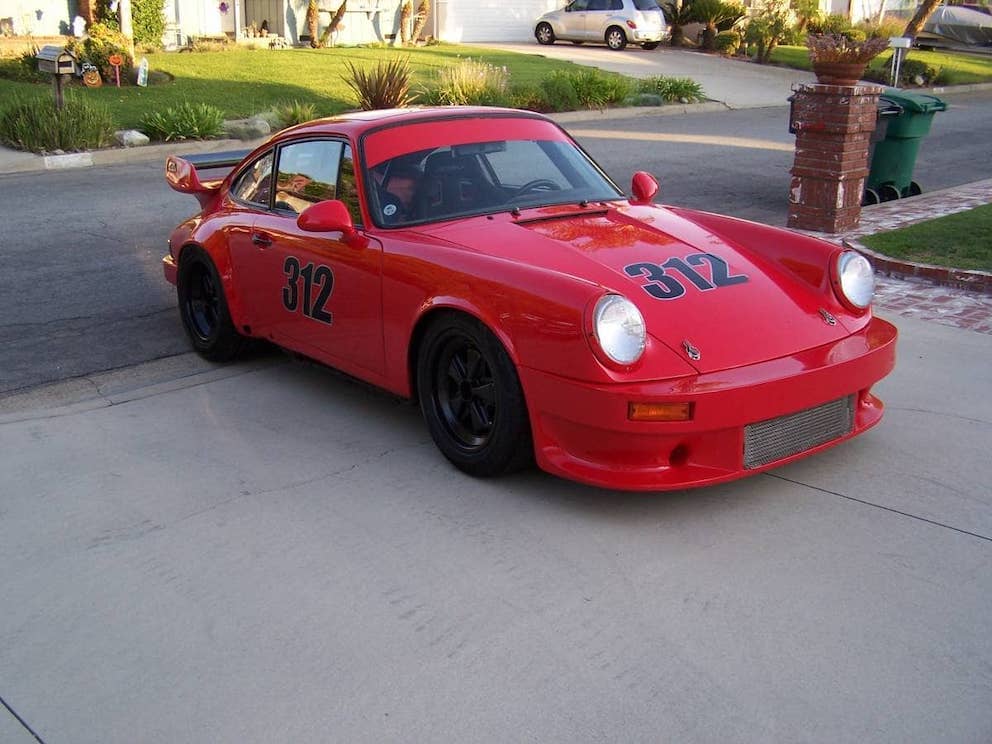
Something is still missing
Once the fitment was done, the car stood there in a very complete technical state. But visually, something was still missing.
Not in a small detail sense. More in terms of identity. And at that point, the real question of the project was no longer about structure or fitment.
It was about what the car was actually going to become.